
Balance is where most image editing happens in Aphera. The seven controls below provide the most common adjustments, which work alongside your chosen Look to shape the tonal range of the image. From a traditional darkroom perspective, you can think of the Look as the chosen film, and Balance as the printing process and paper selection.
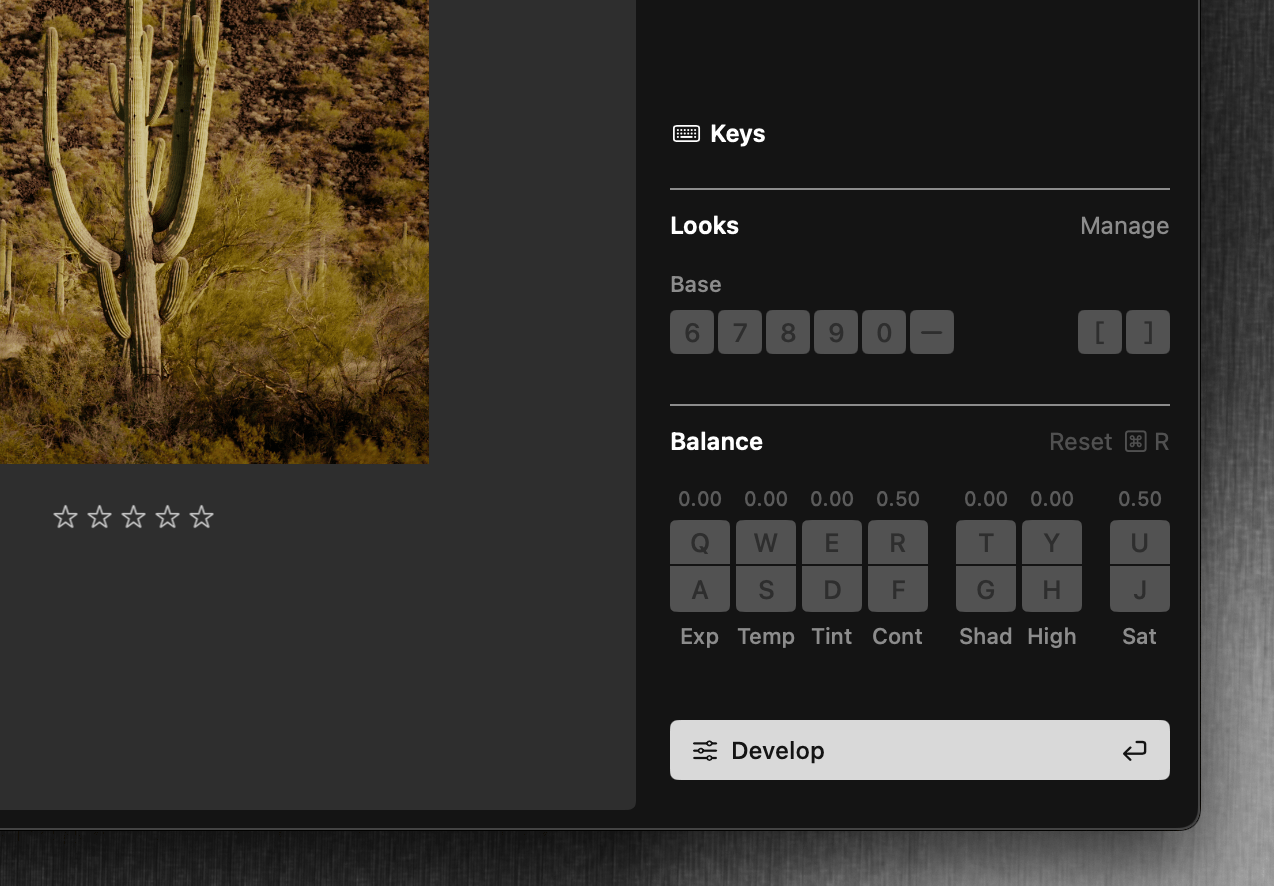
Each control has a dedicated key to increase and decrease the effect (organized left-to-right on a QWERTY keyboard). The keys work in all modes so keeping your left hand positioned here allows you to change the image wherever you see it.
| Control | Description |
|---|---|
Q A Exposure |
Photometric, displayed as the real exposure value |
W S Temperature |
Photometric, displayed in Kelvin (e.g. 6500K) |
E D Tint |
Photometric, displayed as a signed value (e.g. 18) |
R F Contrast |
Overall contrast; pivot around middle grey |
T G Shadows |
Lift or compress darker values |
Y H Highlights |
Lift or compress lighter values |
U J Saturation |
Increase or decrease color intensity |
Photometric means the control operates on the scene’s light values, so an adjustment behaves like a change at capture-time, not an edit to the finished image.
The Contrast, Shadows, and Highlights controls are the same operations found in the Grading Layer, here for Look-agnostic adjustments.
The Saturation control is the same as found in Aphera 2499, providing rich color intensity using the full scene-referred data.
The order of controls/keys follows our principle of broad-to-narrow; in general we recommend to apply changes from left to right.
Keyboard Stepping
Each shortcut steps the value up or down by a fixed amount. Two modifier keys change the step size:
| Modifier | Effect |
|---|---|
| (none) | Normal step |
| Shift | Large step (3x normal) |
| Option | Small step (1/3 normal) |
Balance Presets
RAW photos have a Balance Presets menu on the Balance row of the Image Pipeline panel in Develop mode. Under Color Temperature it lists fixed white balance values, for when a known light source is a better starting point than the camera’s own reading:
| Preset | Temperature | Tint |
|---|---|---|
| As Shot | camera value | camera value |
| Daylight | 5500K | 10 |
| Cloudy | 6500K | 10 |
| Shade | 7500K | 10 |
| Tungsten | 2856K | 0 |
| Fluorescent | 3800K | 21 |
| Flash | 5500K | 0 |
Choosing a preset sets the Temperature and Tint controls; the other five controls are unaffected. As Shot returns both to the values recorded by the camera.
The menu does not appear on JPG and other display-domain photos, where Temperature and Tint are relative rather than photometric.
Resetting Balance
Use Cmd+R to reset all Balance controls to their default values (in all modes except Crop). When the image doesn’t feel right it’s often simpler to reset, then dial in a new balance adjustment.
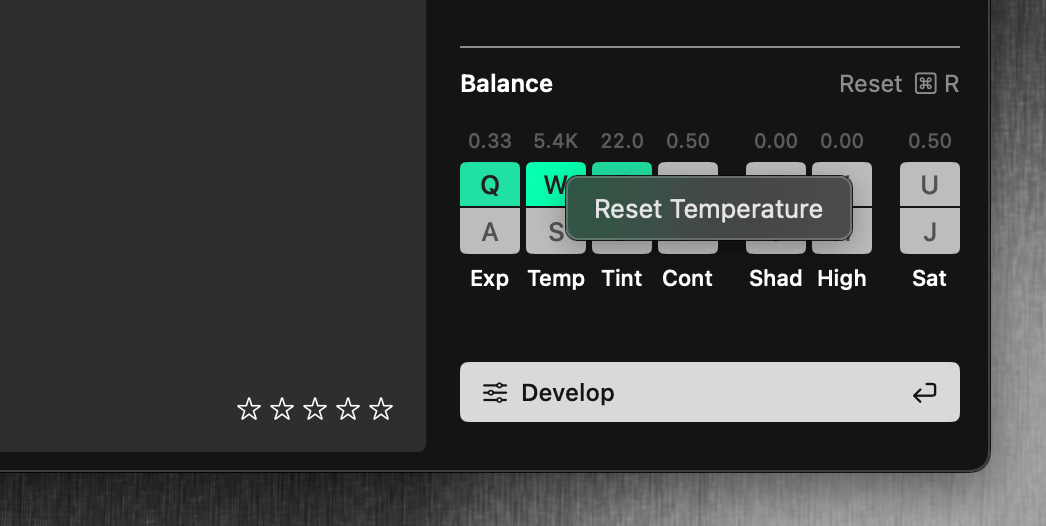
To reset a single control, right-click (or Control-click) any Balance control to open a context menu with a Reset option, returning that specific control to its default value without affecting other adjustments.
See also Operations for copy, paste, and apply-from-previous operations to quickly apply Balance settings to multiple photos.