

Aphera’s workspace is a three-panel layout: Sidebar, Content Area, and Inspector.
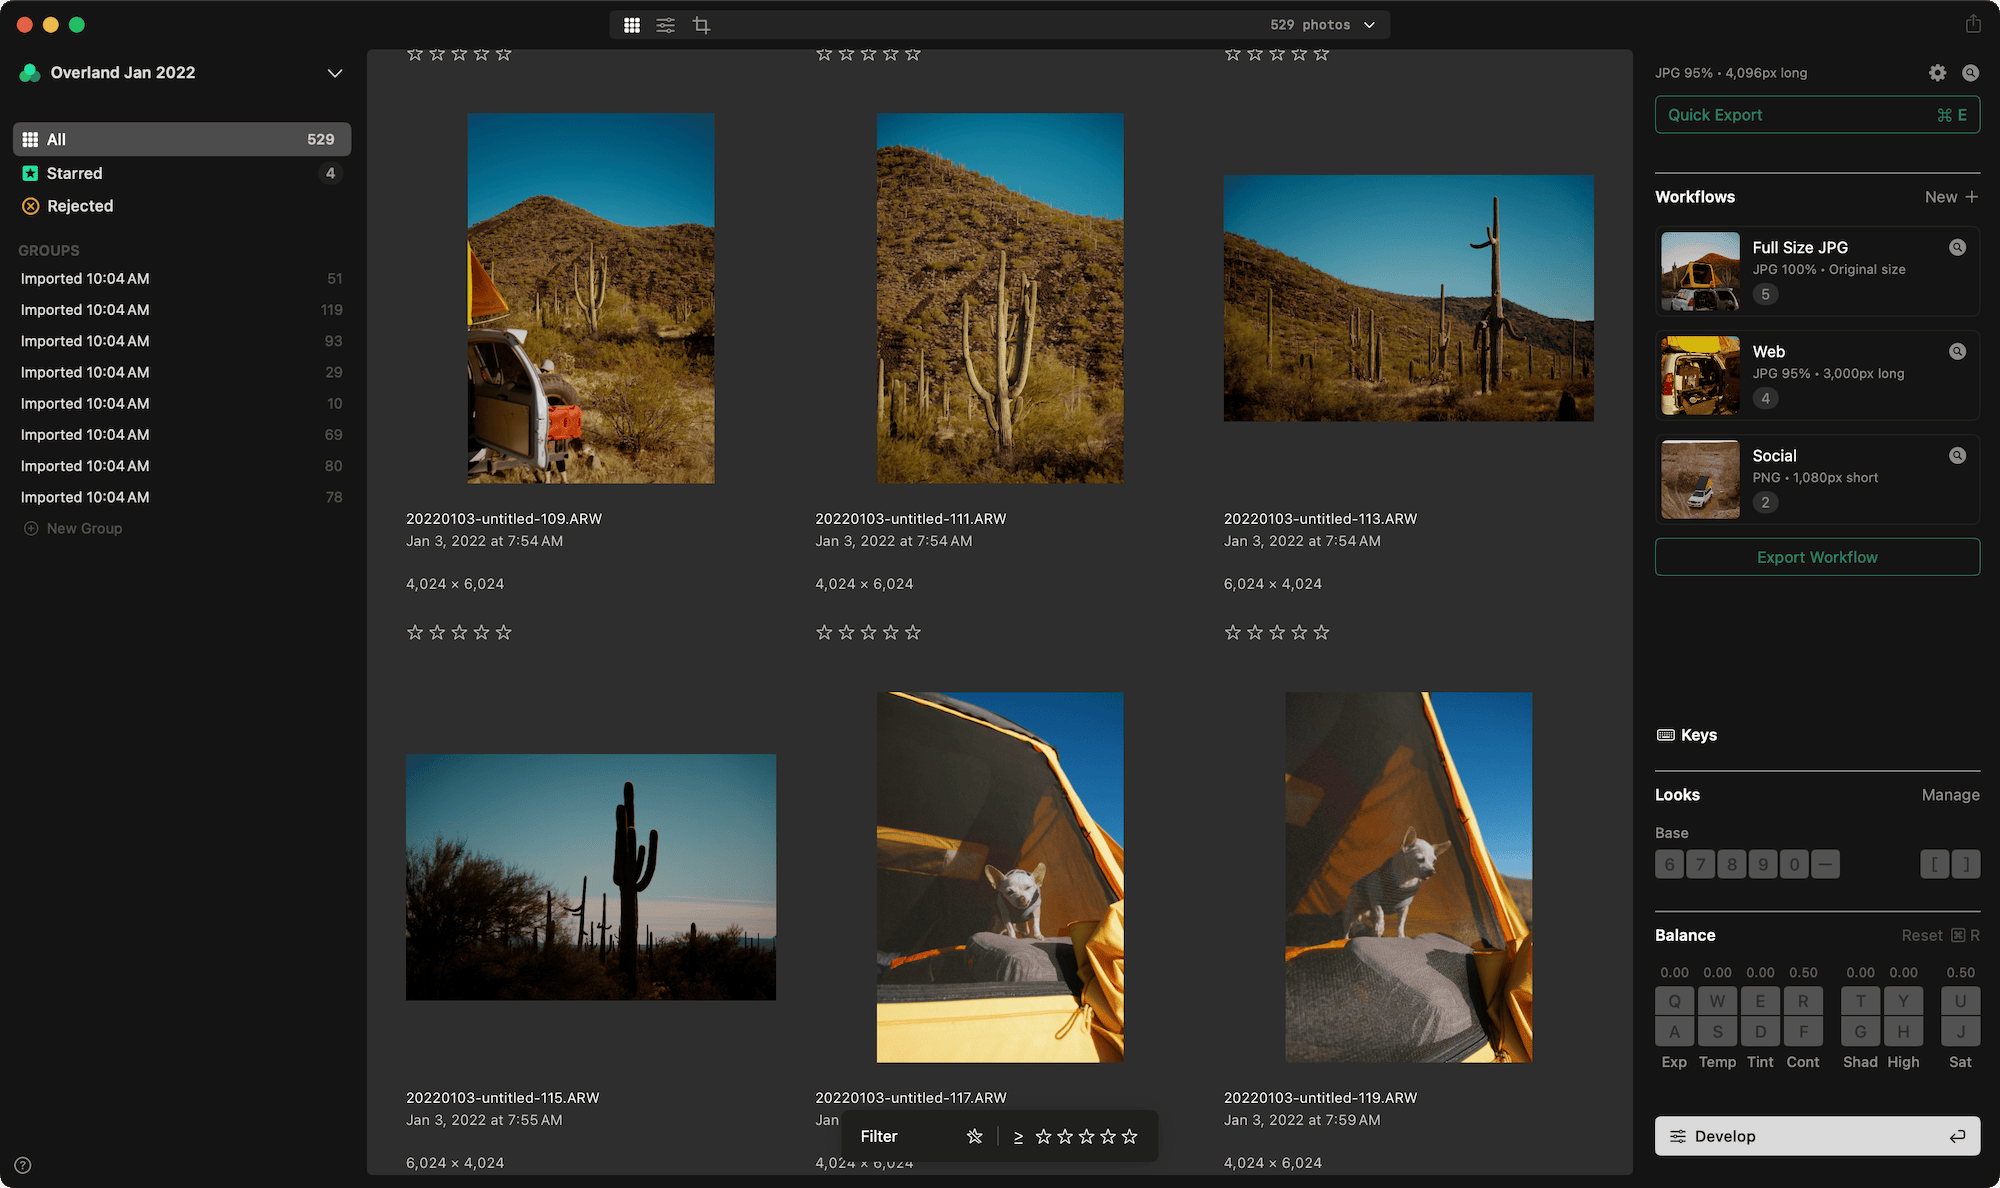
Sidebar (Organizer)
The left panel displays navigation and organization controls with several key sections:
All Ctrl+A: Shows every photo in the project.
Starred Ctrl+S: Shows photos with one or more stars, grouped by star rating.
Rejected Ctrl+D: Shows photos marked as rejected.
Groups: Custom photo groupings within the project.
See Browsing & Grid for detailed information on using these sections.
Toggle visibility with Ctrl+O, or via View > Show/Hide Organizer.
Content Area
The center panel displays your photos. What appears in the content area depends on the current mode: a grid of thumbnails with Balance and Look tools in Grid mode, or a single photo with editing controls in Develop or Crop mode.
Toolbar
The top toolbar spans the content area and provides two key functions:
- Navigation (left side): Switch between Grid, Develop, and Crop modes
- Status (right side): Displays current project information including image count, selection ranges, Export status, and Import progress
Click the status area to toggle through different states. The disclosure caret provides live updates when Export or Import operations are active.
The status popover reports files that are unavailable, in two categories:
- Files on disconnected drives — the files are on a volume that is not mounted. Reconnect the drive to make these files available again.
- Missing files — the files have moved or been deleted. Re-link them at their new location using Manage Imports…. See Importing.
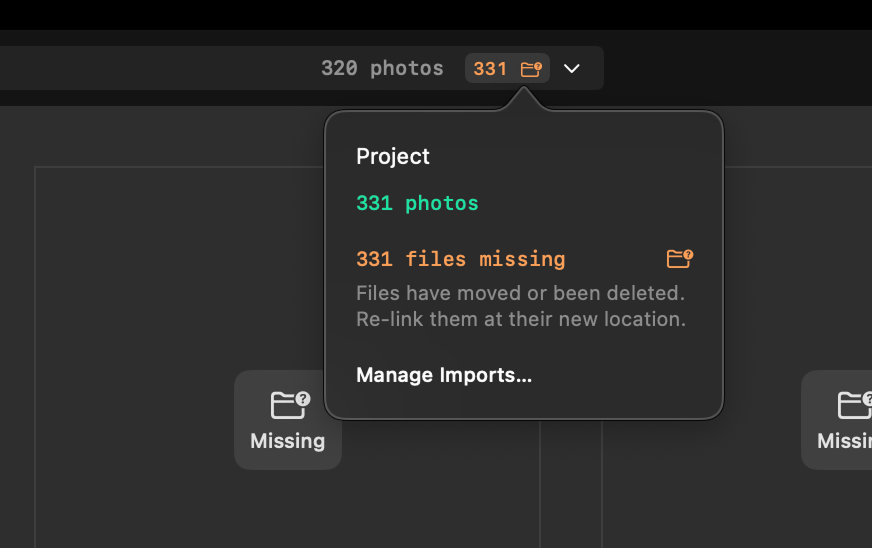
The popover also includes a Manage Imports… button, which opens the panel for reviewing and relinking imports.
Inspector
The right panel provides consistent access to Exports, Balance controls, and Looks.
Exports: Pick the active Export Preset for the project and run it on the selected images. Use Show in Finder to open the export folder. The gear icon opens Settings → Exports, where you create and modify presets. See Exporting for details.
Balance: Core tonal adjustments including exposure, temperature, tint, contrast, shadows, highlights, and saturation. See Balance for details.
Looks: Apply and manage preset styles and looks. See Looks for details.
Toggle visibility with Ctrl+I, or via View > Show/Hide Inspector.
Lightbox
The Lightbox displays the current photo without chrome. On a single display, it replaces the standard window with a full screen view. On a multi-display setup, it opens as a separate view on another screen.
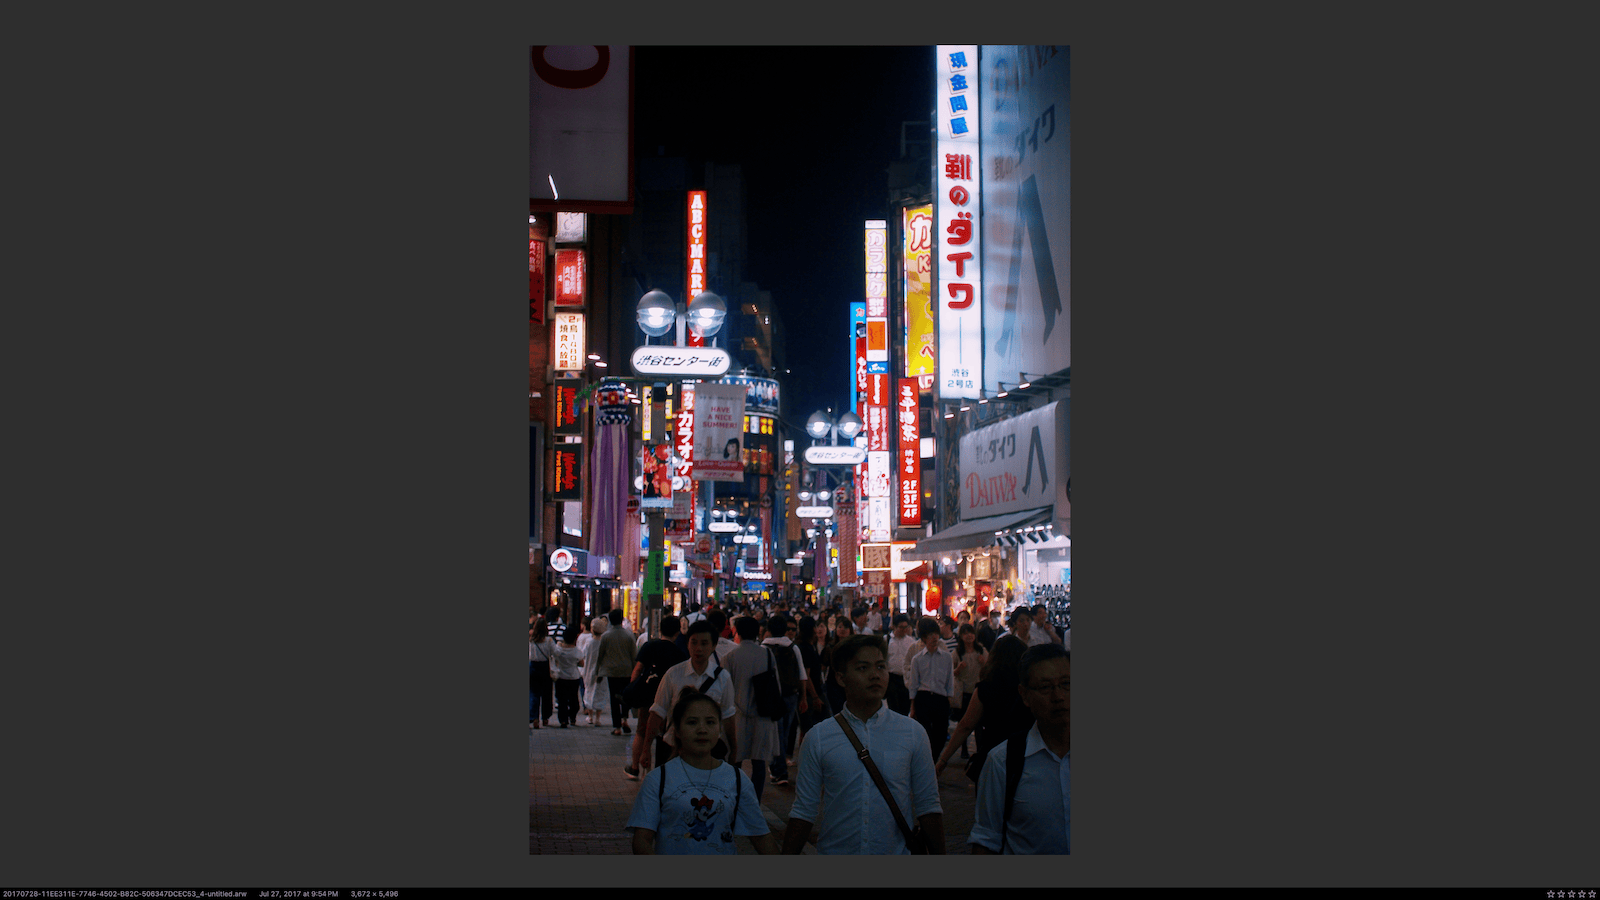
Toggle with L or via View > Open/Close Lightbox.
Configure which display the Lightbox appears on via View > Lightbox Screen. Options are Same as Project or a specific connected display.
Full Screen
Standard macOS full screen behavior via the green window button or the View > Full Screen menu item.
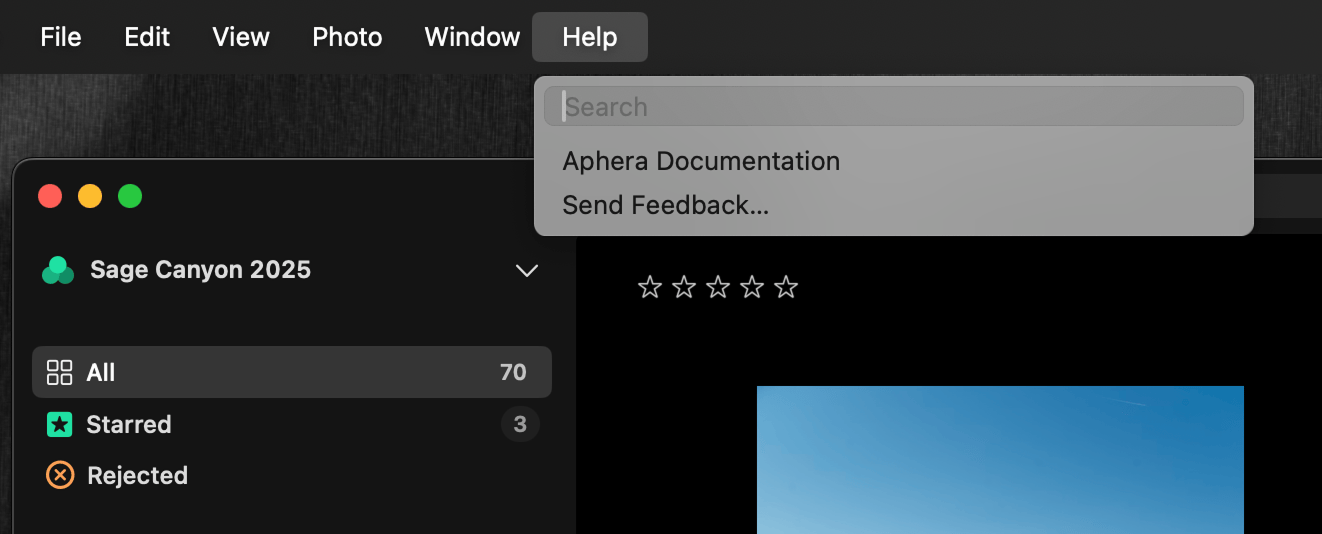
Help
The toolbar includes a Help (?) button that opens the online documentation.
The Help menu provides:
- Aphera Documentation — opens the online documentation.
- Send Feedback… — opens a new email addressed to Aphera support.
Background Color
The canvas background color behind your photos can be cycled:
| Shortcut | Action |
|---|---|
| , | Darker background |
| . | Lighter background |
This works in all modes.