
A bit of polish and fixes. Here’s what’s new in this release:
A clearer Develop panel
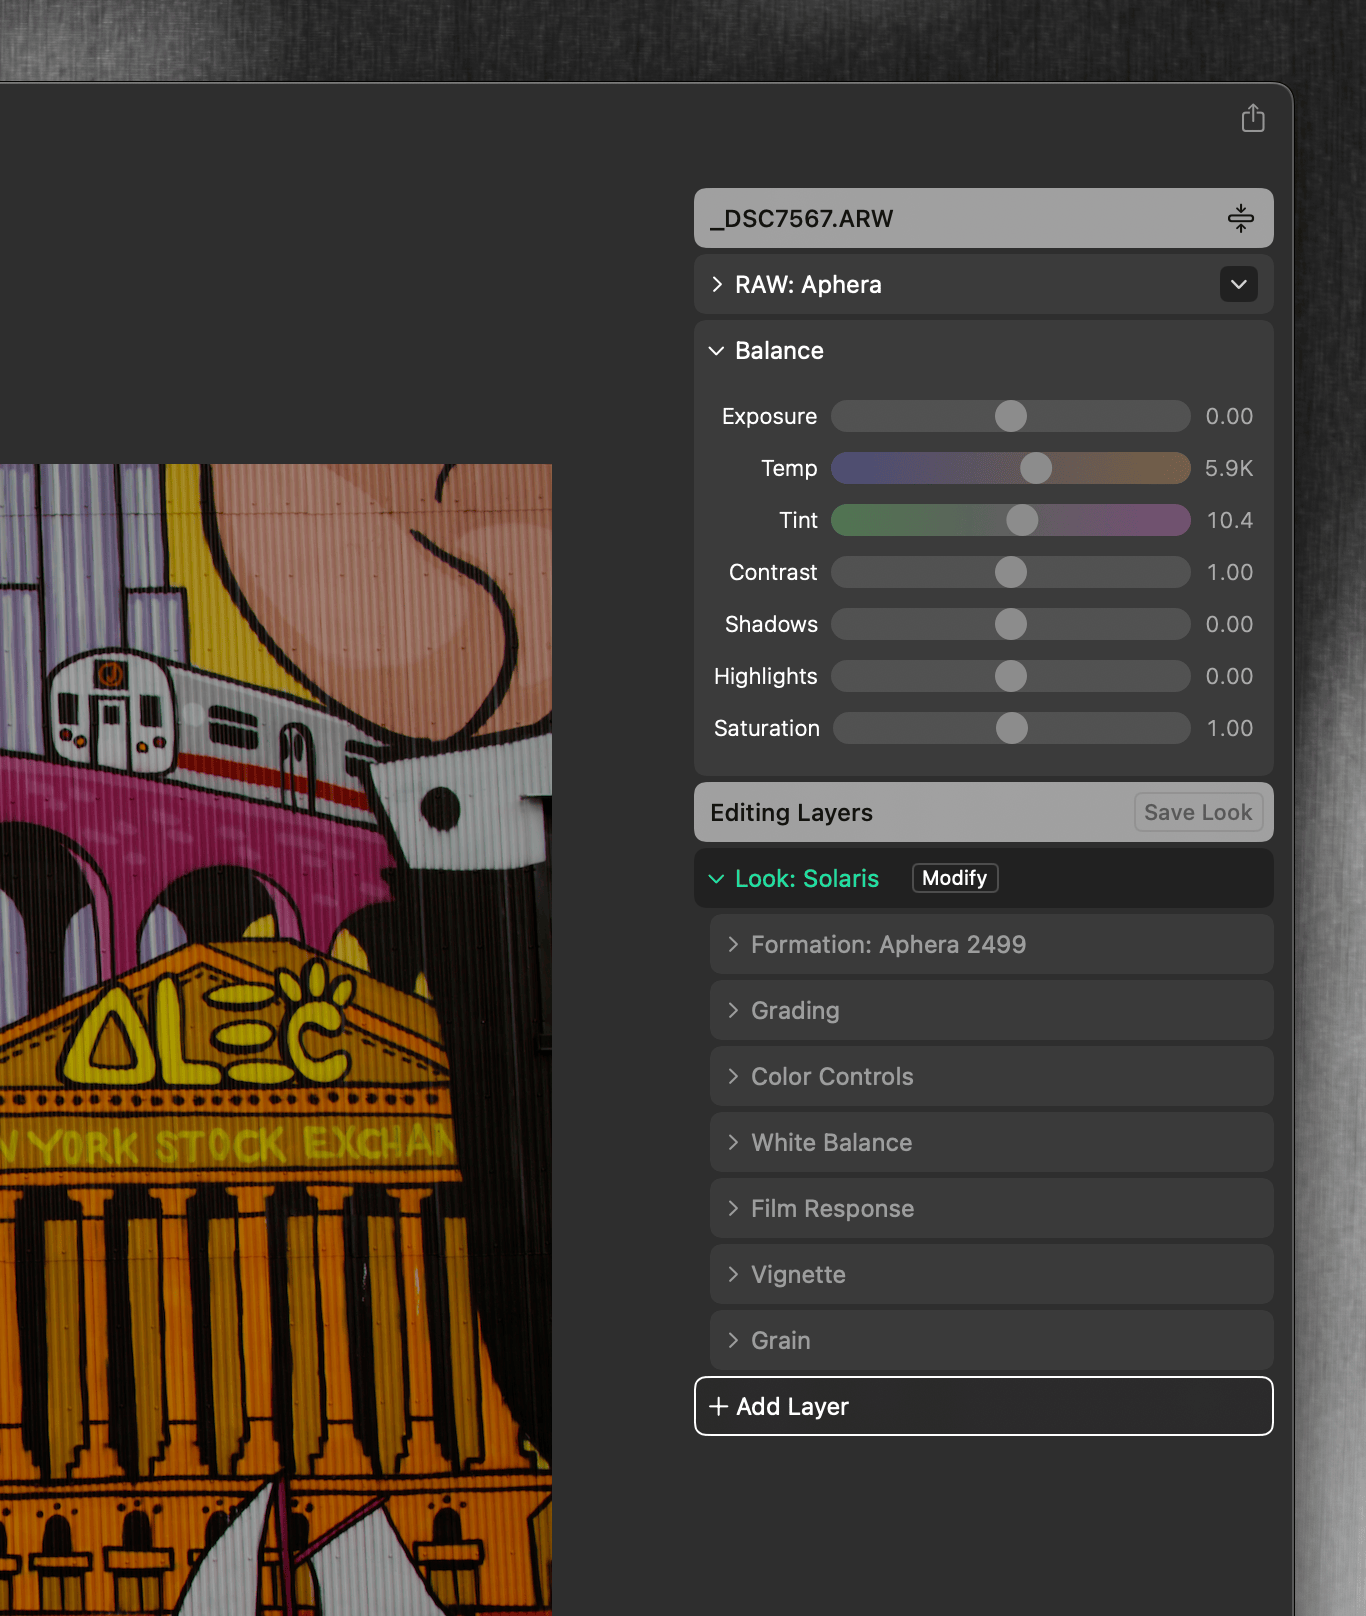
The right side of Develop has been tidied up:
- The Editing Stack header is now Editing Layers, with a Save Look button.
- The Add to Stack menu is now Add Layer, grouped into Color and Texture.
- The RAW Processing layer now names the engine directly: RAW: Aphera, RAW: Apple, or JPG Image.
- The Image Formation row is labeled directly: Formation: Aphera 2499 or Formation: Custom LUT.
- The Contrast tool is now called Grading, and the Ratio slider inside is now called Contrast
- The Balance panel is open by default.
JPG editing
Using Looks and copy/paste now work across RAW and JPG. Apply a look to a JPG, or copy adjustments from a RAW and paste them onto a JPG (and the reverse) — the edits resolve to something renderable instead of erroring out. A few things behave differently by necessity:
- Image Formation (Aphera 2499, Custom LUT) apply to RAW only. Apply a look that carries one to a JPG and the formation is skipped; the rest of the look still renders. The Develop panel marks it with a warning.
- White balance is measured differently for RAW and JPG, so pasting it across that boundary resets it to the target’s neutral.
Other changes
- Added Lumix V-Log input to LUT-based image formation.
- File > Import now lists image files only, so stray sidecar files (like XMP) no longer try to import.
- Fixed bug where two drives sharing a name could flip to an offline status by mistake (often caused by Time Machine)