

Beta 10 is another huge update — over two weeks of intense work from the three of us that lays down a solid foundation for the app that we can grow into and improve. It’s feeling like home.
Unified UI
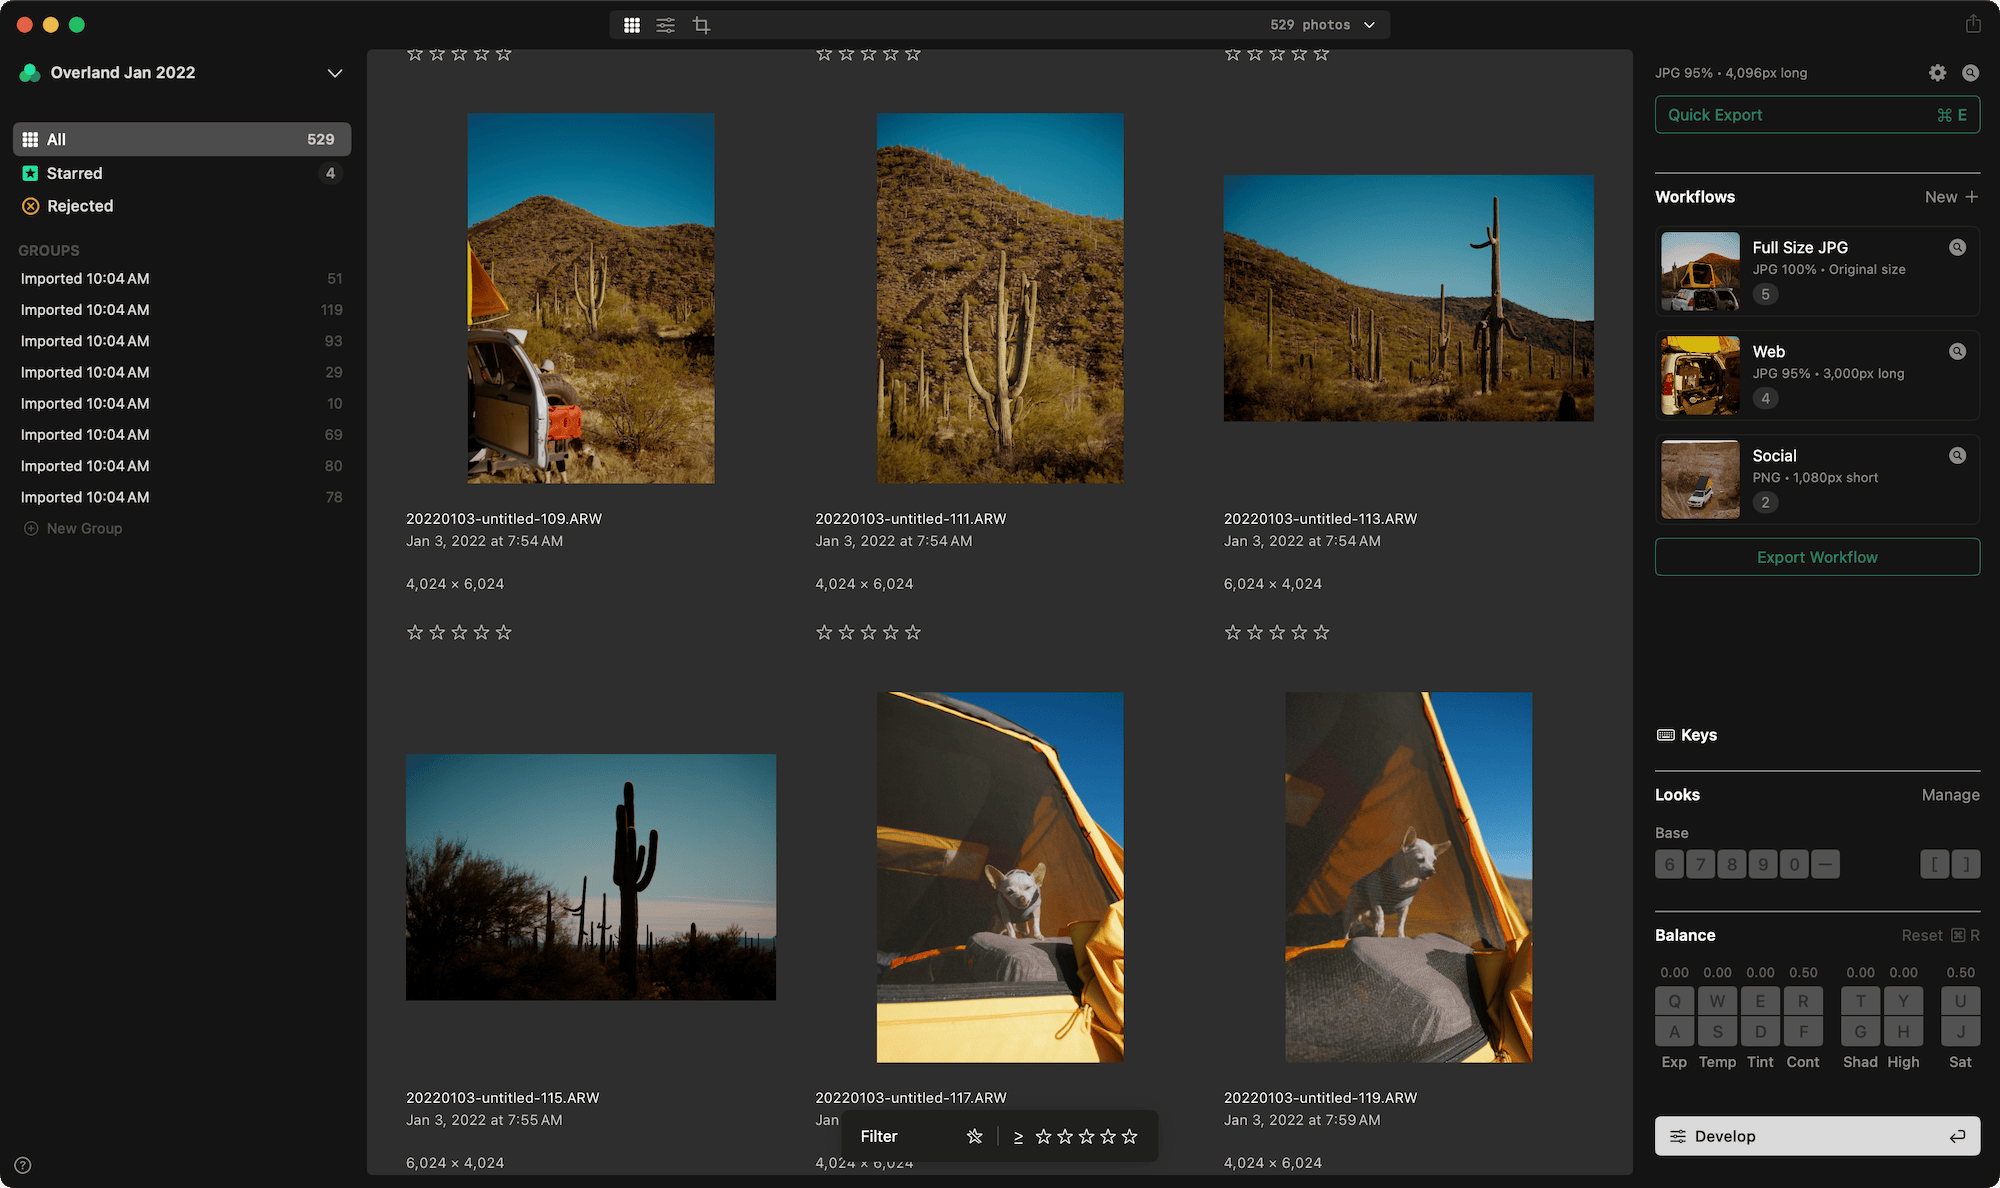
The three spaces you know today have been simplified. Grid for reviewing and acting on images in quantity, Quick for flowing through a selection or subset of images with your editing workflows (Balance + Looks), and Detail for going deeper into a single image to develop it further.
These ideas and modes of operating felt analogous to these distinct spaces, but as we used it more and heard from you, we realized we needed to bring things closer together. Why weren’t Looks and Balance in Grid? The keyboard controls worked, but why were those controls only visible in Quick?
Keeping these spaces distinct felt more like work than flow, so we unified Grid and Quick. Balance and Look tools (we call them internally, chiclets) are now present in Grid, which we consider the default view. Working through an image is now much more seamless — size up your grid, filter starred selections, or select batches of images. And now, double-click an image to bring it to a singular isolated view and work on it in context of your project’s groups, starred, and workflows.
Detail is still where the work happens, and we now call it Develop. Duh! An obvious name for when you want to further work on an image with effects or develop your Looks. No major changes here (but a Develop V2 is on the roadmap). You can now access Develop by hitting Enter/Return (or the big button on the bottom right). Esc to exit back to Grid, or hit Enter again to isolate the image in Grid.
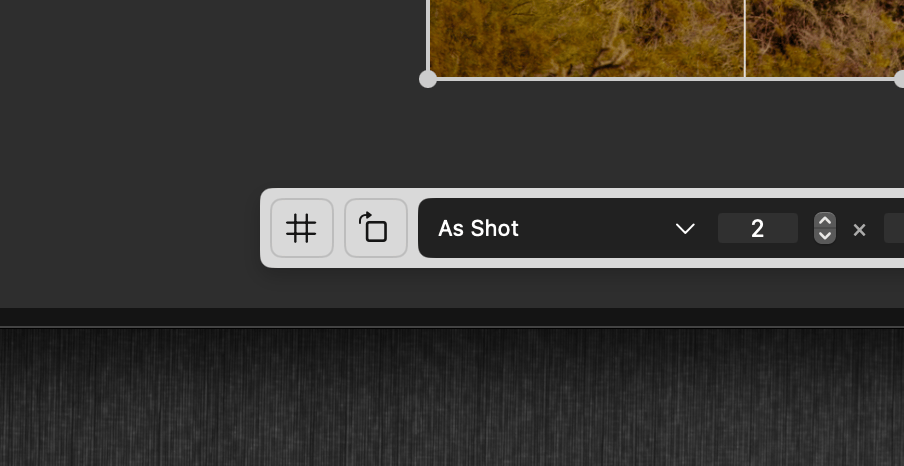
There’s one other way to get to Develop, which is the other new addition: the top toolbar. It’s both navigation and an informational readout. You can access Grid, Develop, and Crop from here on the left. The right side shows you the status of your project. It’ll show you the images and selection ranges, Export, and Import status. Click to toggle through each state, and the disclosure caret will give you live updates if any combination of the three are active.
Lightbox
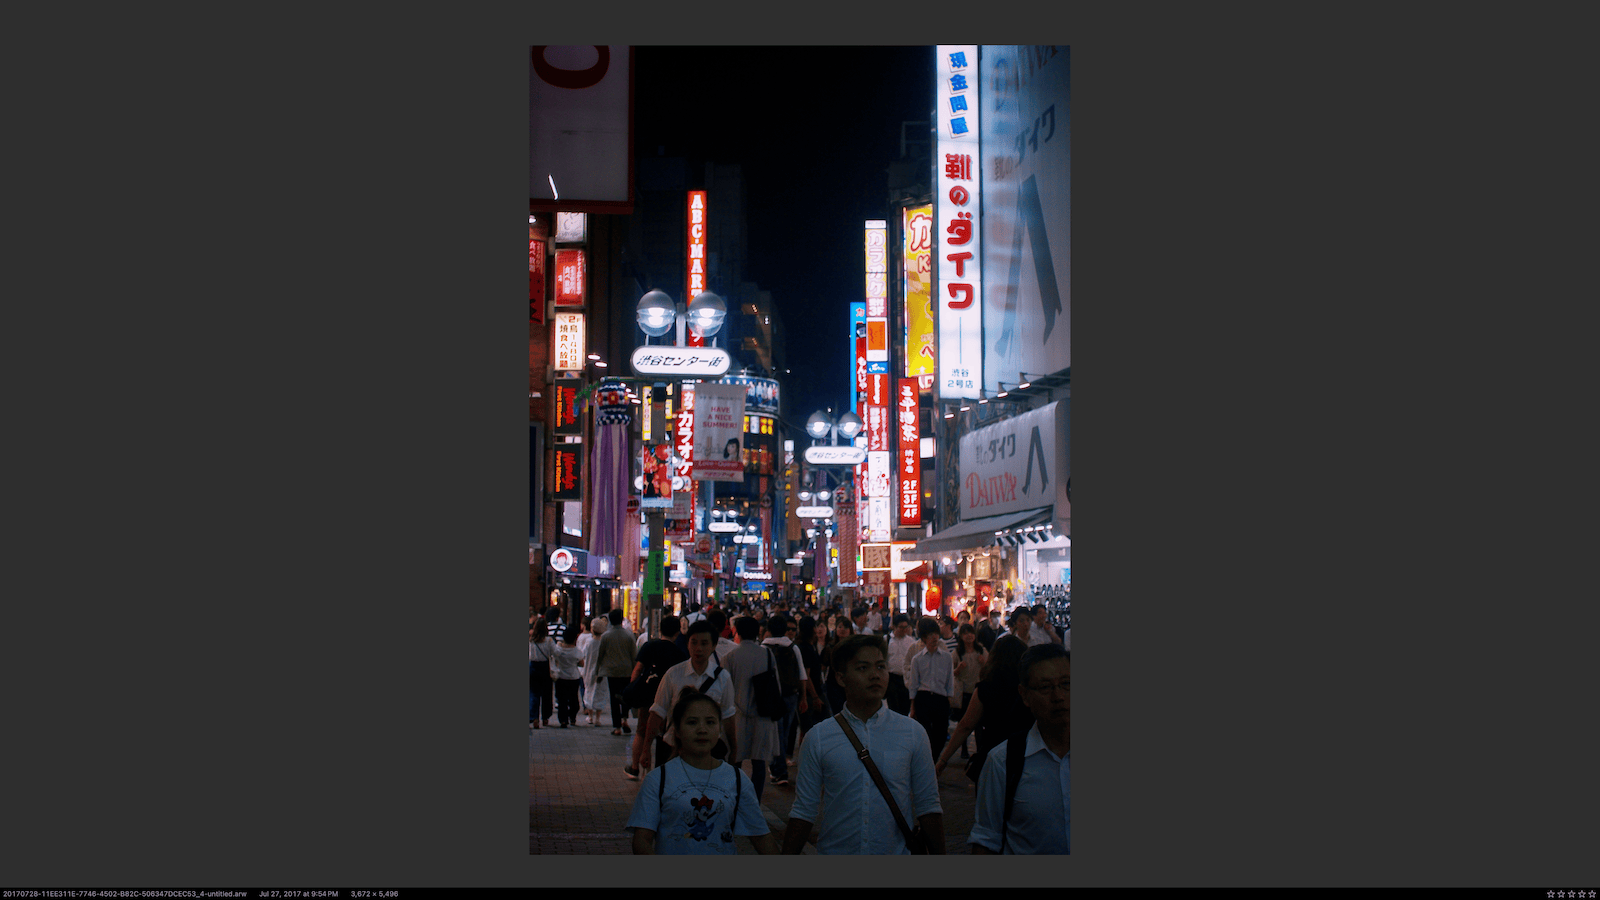
We’ve added a Lightbox view, the L key toggles it. Lightbox is a very fast way to isolate an image in full-screen with no UI and just metadata. All the keyboard tools work here, so think of this as a better version of Quick + Focus. If you have a second display, you can place the Lightbox there as a large reference while accessing the rest of the project.
More UI changes
We changed the delete key slightly. In beta 9 pressing delete would always set the image to Rejected. In practice we found this to be unexpected when inside a Group or Workflow. Now, delete will remove an image from its Group or Workflow when in those views. The heavier operation of Reject is now option-delete and works in all contexts.
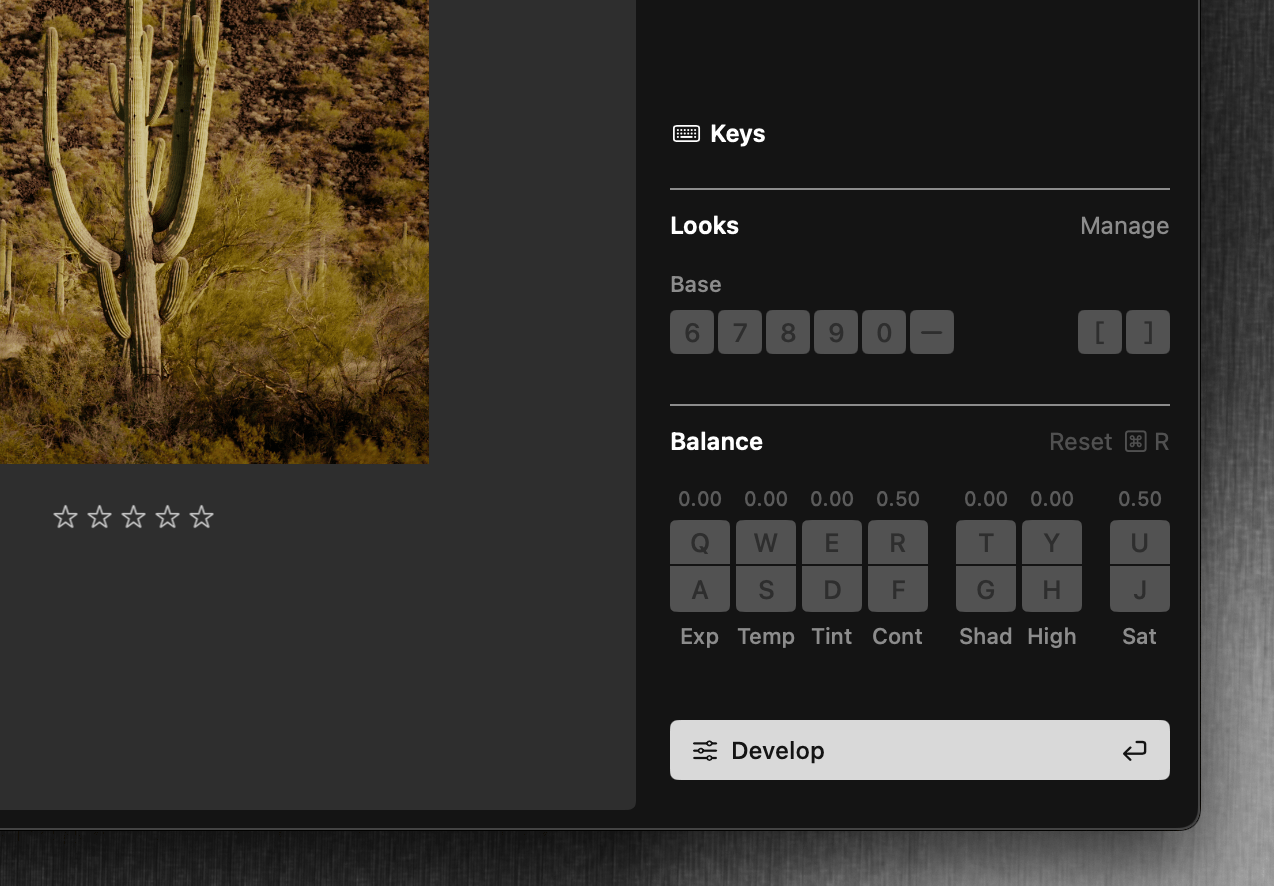
The Balance tools now correctly return to “no change” when you increase by several steps and then decrease by an equal number of steps. Previously the value would be effectively zero but still show a “modified” state in the UI.
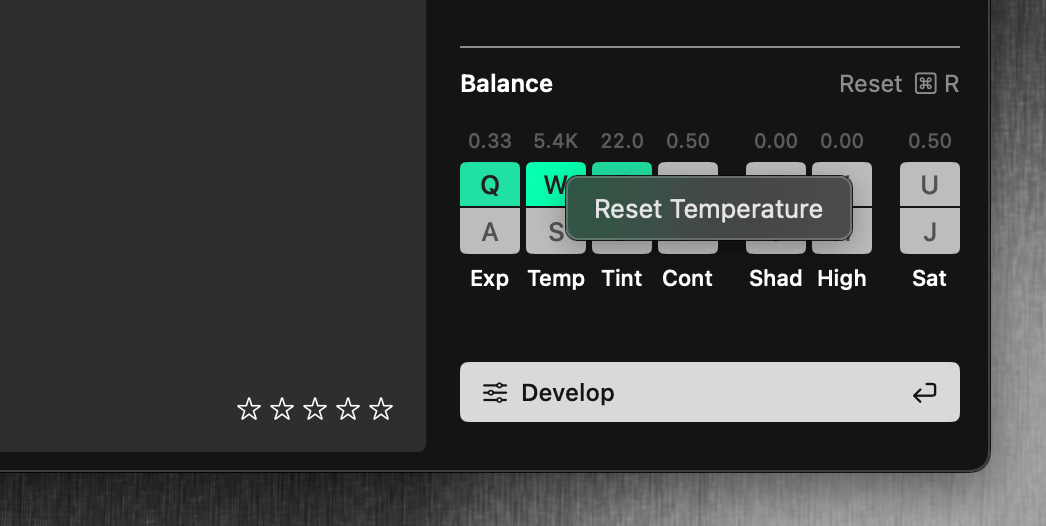
The Balance tool also gained a right click (context menu) allowing you to Reset each control.
The Crop tool now has an orientation button for correcting the overall rotation of an image.
Changes to image rendering
We made two changes to the Grain tool: the default value for “Blend > Overall” which controls the visible effect of the grain is now lower. We think this is a better starting place when adding grain on most images. Note that any grain settings in existing projects will be honored but you might wish to explore the more subtle behavior of the “Blend > Overall” slider. We also modified the grain itself, in subtle ways that you may or may not notice.
The performance of Denoise is improved; previously using this tool could slow down the overall image rendering speed and cause the UI to feel slow.
Lens Corrections have been upgraded; your cameras should be identified more correctly now.
Disk, memory, and performance
Upon import, Aphera creates several proxy images to avoid the time-consuming process of decoding and debayering a RAW file. We now require fewer of these images over time as you edit, saving disk space. Additionally, we put a limit on the total size of this proxy cache, currently 10GB (tools to change that or clean it up will be coming).
When those proxy files are missing, Aphera now more efficiently creates them as needed. Previously this regeneration step could cause the app to slow and consume too much memory.
Several other fixes have been put in place to keep memory usage under control; we generally see it stabilize around 6GB once an import has completed.
The UI layer which displays images on screen has been revamped to reduce memory usage and be much more efficient. It should feel noticeably snappier when moving moving between images. Rapid movement such as holding down the right arrow key shows a significant improvement.